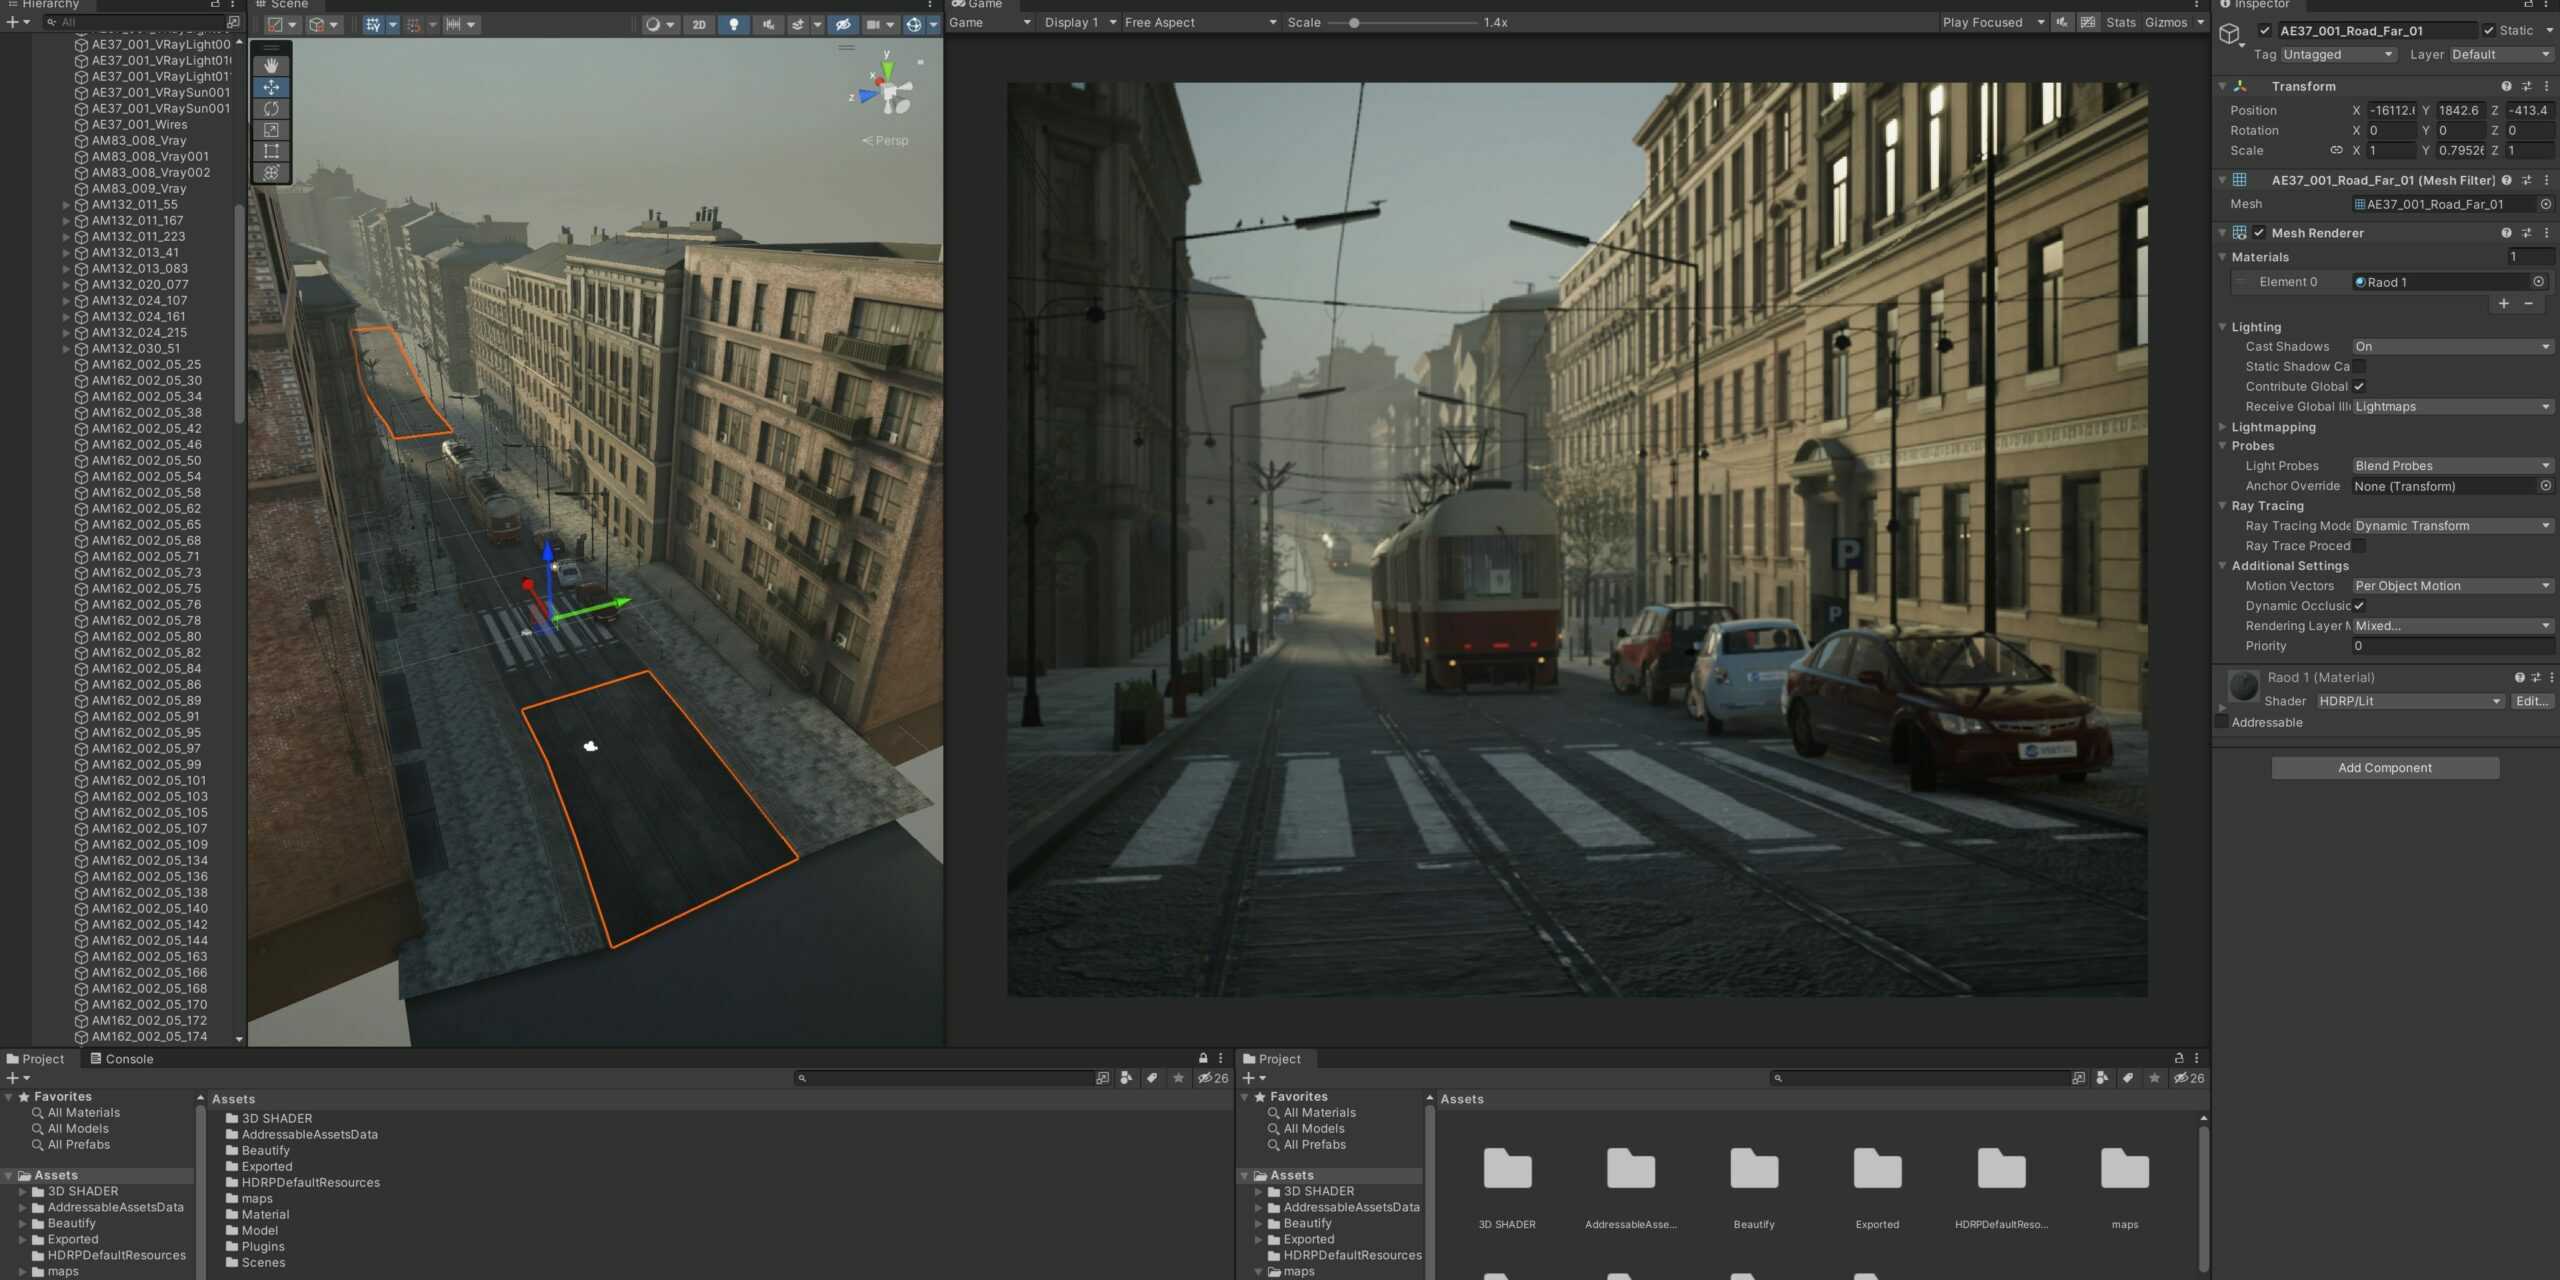
Step-by-Step Guide to Importing Unity Game Source Codes
Importing Unity game source codes into your project can save you time and effort, providing a strong foundation for your game development. Whether you’re using a template or integrating assets from another project, knowing how to import source codes correctly is crucial. This step-by-step guide will walk you through the process of importing Unity game source codes to ensure a smooth and efficient workflow.
Step 1: Download and Unzip the Source Code
Before you begin, ensure you have downloaded the source code you want to import. Source codes are usually provided in a zipped format. Follow these steps:
- Download the Source Code: Obtain the source code from a reliable source, such as a reputable website or a trusted developer.
- Unzip the File: Use a file extraction tool to unzip the downloaded file. Ensure the extracted files are organized and easily accessible.
Step 2: Set Up a New Unity Project
To import the source code, you need to set up a new Unity project. Follow these steps:
- Open Unity Hub: Launch Unity Hub and click on the “New” button to create a new project.
- Select a Template: Choose a project template that matches the type of game you want to develop (e.g., 2D, 3D, VR).
- Name Your Project: Give your project a meaningful name and select a location on your computer where the project will be saved.
- Create the Project: Click the “Create” button to set up your new Unity project.
Step 3: Import the Source Code
Once your new Unity project is set up, you can import the source code into the project. Follow these steps:
- Open the Project: Navigate to the location where you saved your new Unity project and open it in Unity.
- Import Package: Go to the top menu and select
Assets > Import Package > Custom Package. - Select the Source Code: Browse to the location where you unzipped the source code and select the
.unitypackagefile (or other relevant files) to import. - Import All Assets: In the Import Unity Package window, ensure all assets are selected and click the “Import” button to import them into your project.
Step 4: Verify the Import
After importing the source code, it’s essential to verify that everything has been imported correctly. Follow these steps:
- Check the Assets Folder: In the Unity Editor, navigate to the “Assets” folder in the Project window to ensure all files and folders have been imported.
- Open Scenes: If the source code includes pre-built scenes, open them by double-clicking the scene files in the “Assets” folder.
- Run the Game: Click the “Play” button in the Unity Editor to run the game and verify that everything works as expected.
Step 5: Configure Project Settings
Depending on the source code, you may need to configure some project settings to ensure optimal performance and compatibility. Consider the following adjustments:
- Build Settings: Go to
File > Build Settingsand ensure the correct platform (e.g., PC, Android, iOS) is selected. Adjust any necessary build settings. - Player Settings: In the Build Settings window, click on “Player Settings” to configure various settings such as resolution, aspect ratio, and quality.
- Input Settings: If the source code uses custom input controls, verify that the input settings are correctly configured in
Edit > Project Settings > Input Manager.
Step 6: Customize and Expand
With the source code successfully imported and configured, you can now start customizing and expanding your project. Here are some suggestions:
- Modify Assets: Replace placeholder assets with your custom graphics, sounds, and animations.
- Edit Scripts: Open the scripts in your preferred code editor to modify game logic, add new features, or fix any issues.
- Design Levels: Use the Unity Editor to design and build new levels or modify existing ones.
Conclusion
Importing Unity game source codes is a straightforward process that can significantly accelerate your game development. By following this step-by-step guide, you can ensure a smooth import process and set up a solid foundation for your project. Whether you’re a beginner or an experienced developer, leveraging pre-made source codes can save you time and help you create high-quality games efficiently.
